PaperCut Client Install on PC
Windows instructions for adding PaperCut client for printer account selection and notifications
The PaperCut client is only required for users who need to access to multiple shared accounts or student employees who must charge printing to a department instead of personal account.
1. Click the search bar next to the windows start menu icon at the bottom of your home screen.
2. Enter \\papercut1.vcsu.edu in the search box and press Enter.

3. You may be prompted with a login box. Users need to log in with @vcsu.edu. To do this, select More Choices. Click on Use a different account.

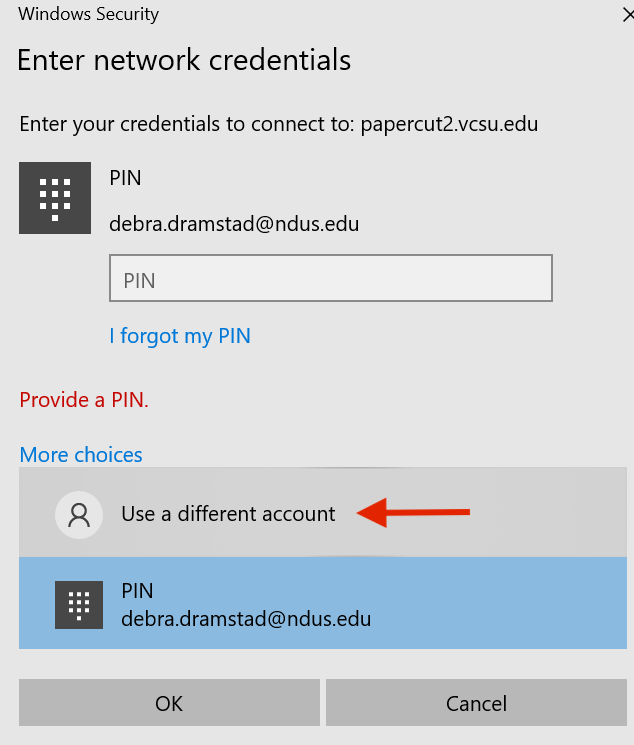

5. Enter your @vcsu.edu credentials and click OK.
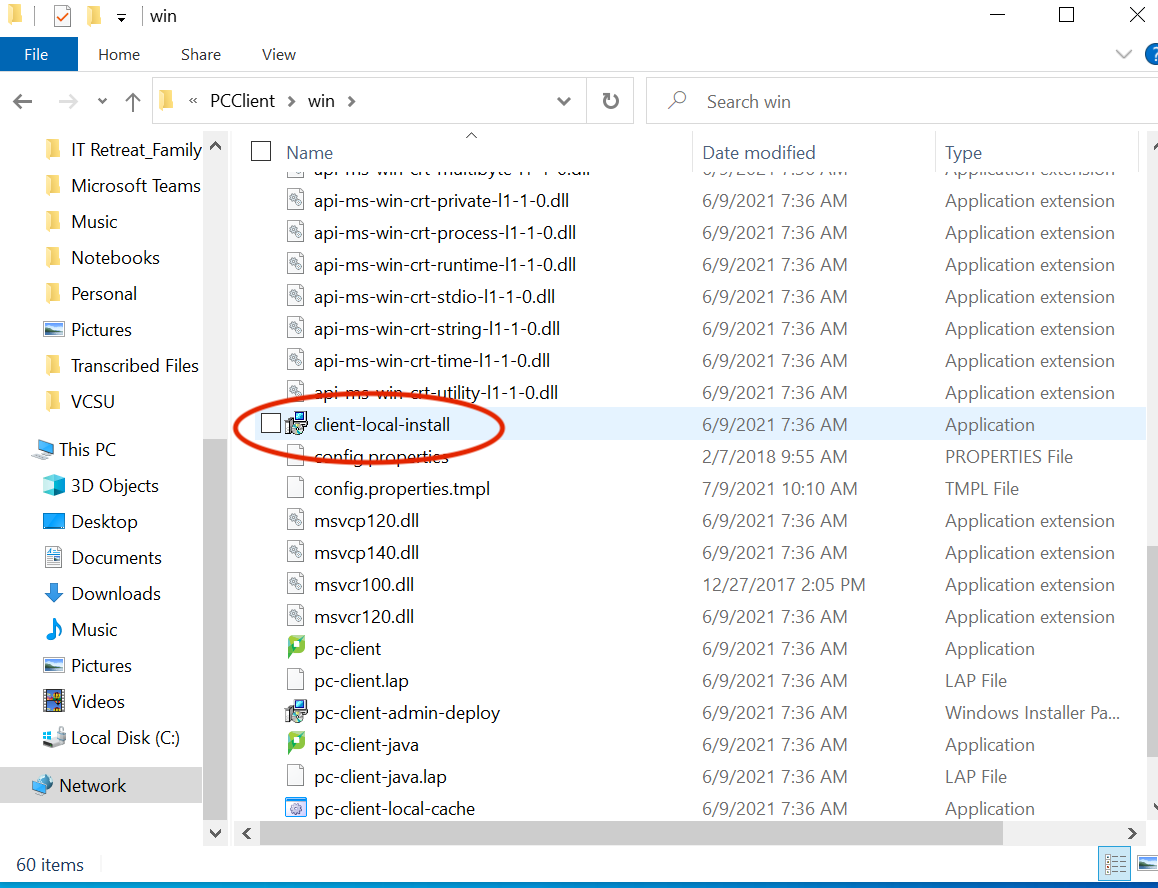
6. After the file explorer window opens, locate the installation file in PCClient>win. Double-click on the "Client-Local-Install.exe" file.
7. Click Yes to verify the installation. Another Windows box will appear; click Yes to the PaperCut MF Client Setup.

8. Select I accept the agreement, and click Next to begin. Follow the defaults through the installation. Click Finish at the end of the installation.
9. When prompted for username and password, use your VCSU/NDUS credentials and click "Remember Identity".

The client should be running in background at all times and you will get prompted each time you print to decide what account should be charged.
NOTE: You must be connected to the "VCSU" Wi-Fi network to print on campus.