YuJa Proctoring - Instructor Guide
YuJa Proctoring - Instructor Guide
YuJa’s Exam Proctoring feature ensures the security of student exams taken online. Exam Proctoring records a video of the student taking their exam for submission credit. The YuJa Proctor Recorder also ensures that the recording is securely allocated to a centralized instructor folder, which will prevent distribution of the exam recording by the student. Following are steps to set up Exam Proctoring.
Turn Exam Proctoring on in the Course
Before you can use Exam Proctoring, it must be turned on in the course. Important: the instructor who turns proctoring on has access to the videos.
- Log into YuJa either directly or through the course site.
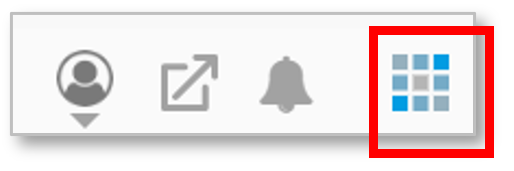
- Click the Main Menu icon located in the upper right corner of the screen
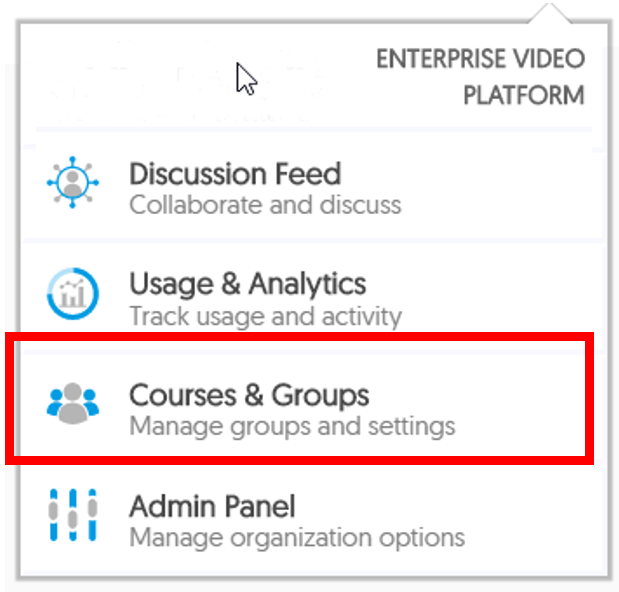
3. Choose Courses and Groups (right) then select your course from a list on the left side of the screen.
4. Click the Edit icon (pencil). The Edit Your Class dialog box appears (below):

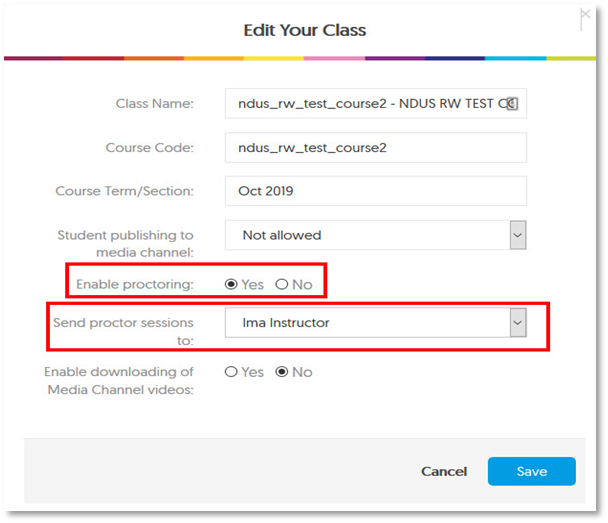
5. Check Yes for Enable Proctoring and choose which instructor account should receive the proctor recordings.
6. Click Save.
Getting Started
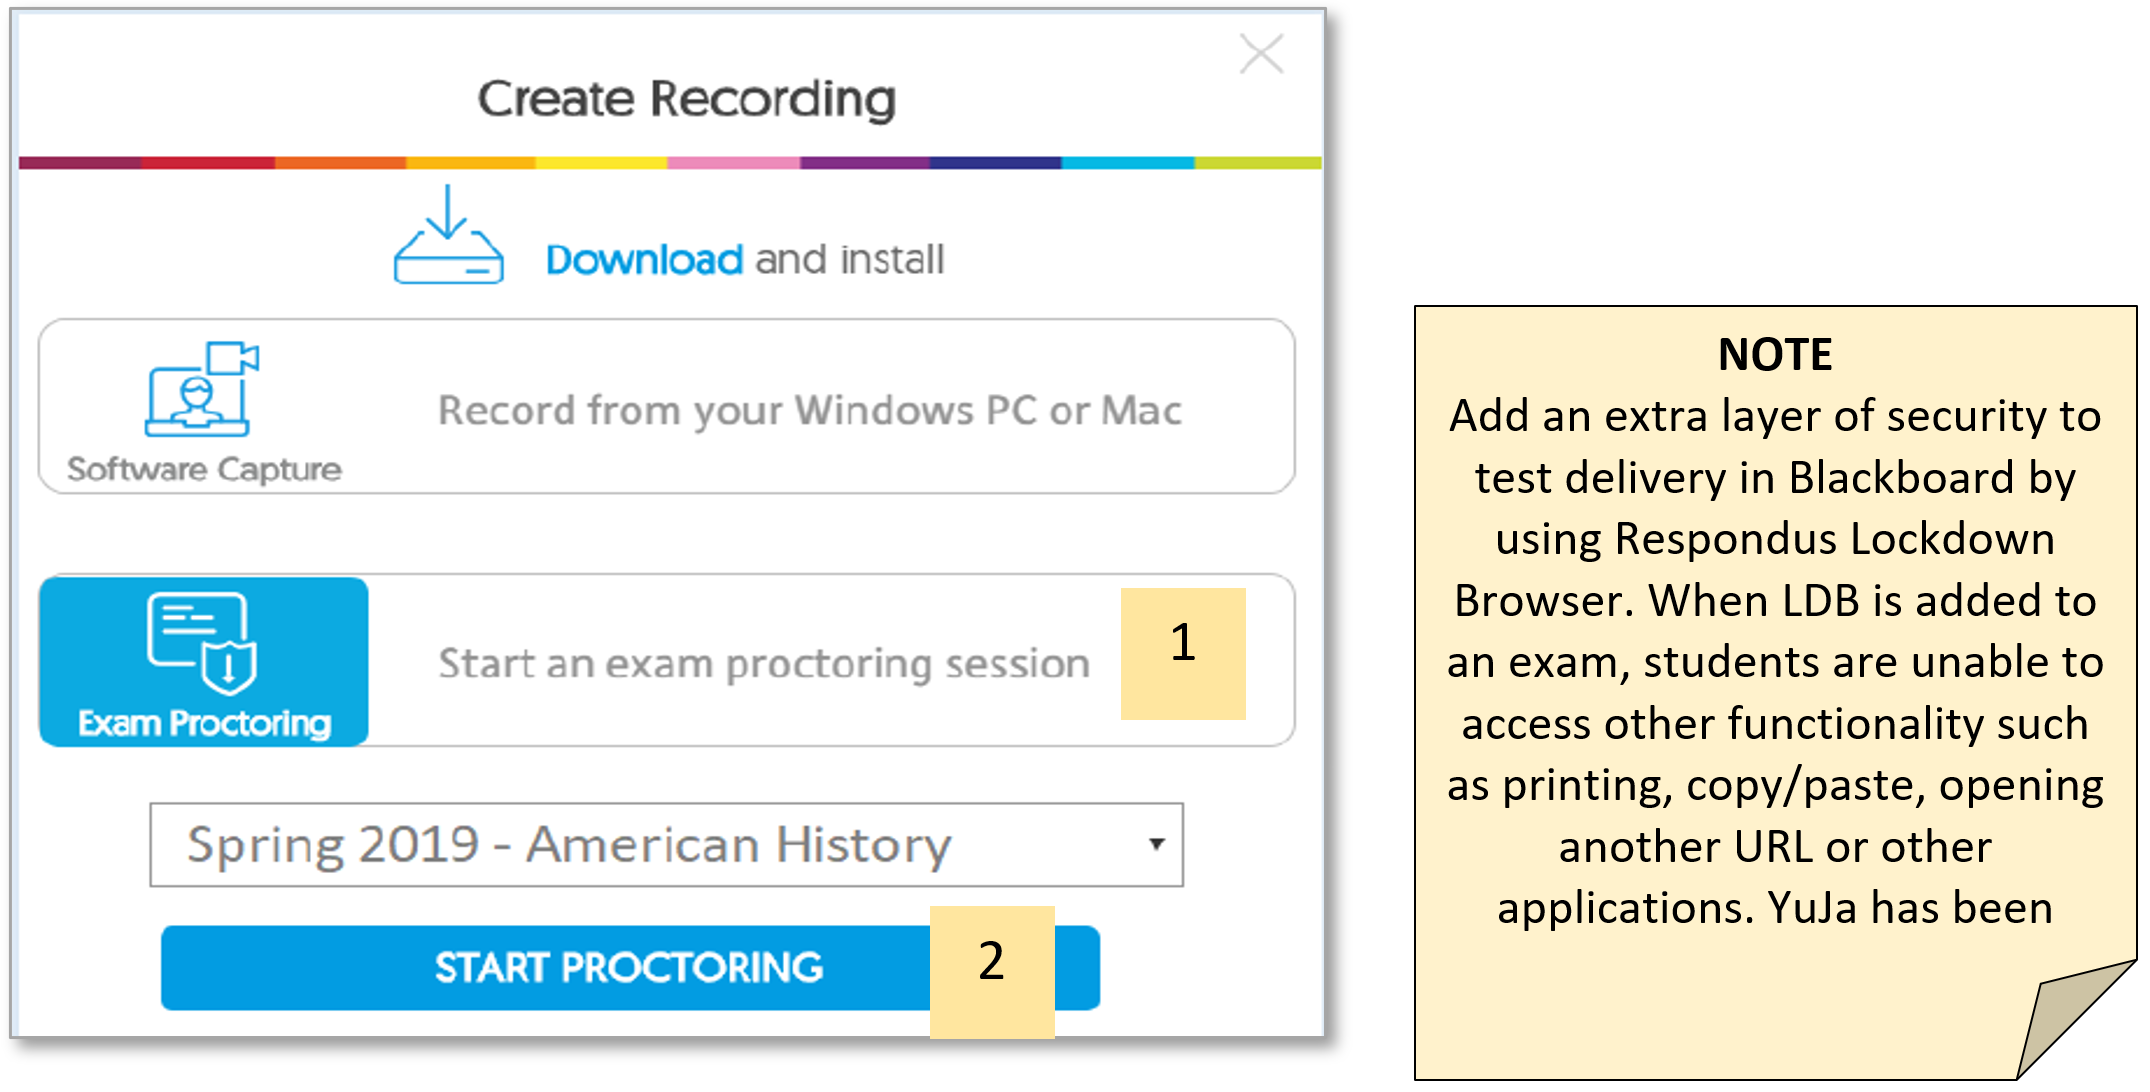
Student users can easily find and take their exam directly within their YuJa account under the Create Recording button.
- In YuJa, click the Create Recording button then select the option for Start an Exam Proctoring Session.
- Underneath the Exam Proctoring icon, select the applicable course where proctoring is enabled.
- Click on the blue button labeled Start Proctoring
- Once the recorder is opened, the student is presented with a special confidence monitor where they will verify their identity in taking a picture of their ID. The preview window to take a photo will be in “Read Only” so the student cannot:
- Proceed without taking the photo of their ID
- Cannot turn off any of their audio, video, and screen sources. They do have the ability in the left column to pick an appropriate camera and microphone if they happen to have multiple sources connected to their computer.
- Cannot rename the Proctor Session

Start the Recording in YuJa
- Once the student user has taken a clear shot of their ID card and confirmed the snapshot, they can begin recording their respective exam by clicking the Start button:
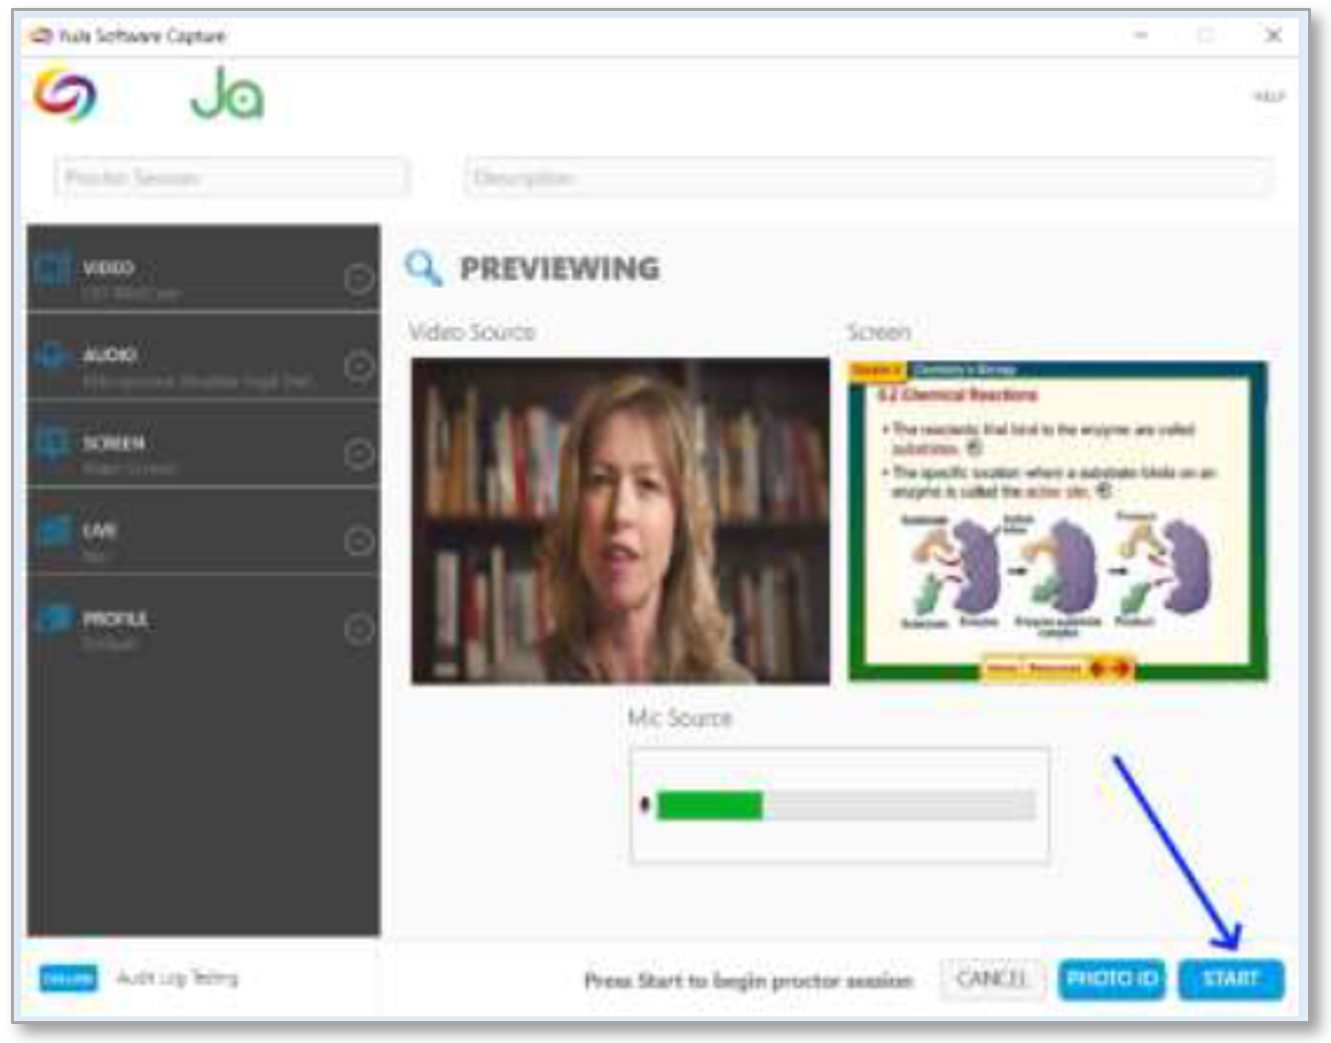
The option to pause the recording will be unavailable. Video, audio, and all connected monitors are recorded. A small tool bar will be located in the lower right corner of the main monitor. The only option available within the toolbar is to stop the recording.

Completing the Session
- Students will need to click the Stop button in the recording toolbar to complete the session.
- The video recording will process to the instructor’s submission folder labeled Proctor Sessions. A progress window will appear to the student as the upload takes place. Students should not turn off their computer, or allow the computer to fall into sleep mode while the upload takes place. If this should happen, the upload will not complete until the computer is turned back on or comes out of sleep mode.
- The student’s photo is attached to the proctored recording as a document for verification of identity.
Additional YuJa Help Resources
Check these resources for more information.
YuJa Support Site
YuJa Video Tutorials
YuJa YouTube Channel
Have additional questions or technical issues?
Don't hesitate to contact VCSU Service Desk by sending a chat or creating a ticket here: https://onestop.vcsu.edu/support/tickets/new
Or send us an email at tsticket@vcsu.edu.