Classroom Projection Fixes and Workarounds
After several recent Windows updates and hardware changes some users are experiencing projection issues, such as flickering or black screens appearing. Below are steps you can do to resolve these issues.
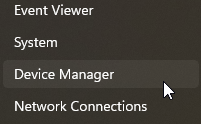
If you are a PC user:
1. Right-click on the Windows icon on your taskbar.

2. Select Device Manager.
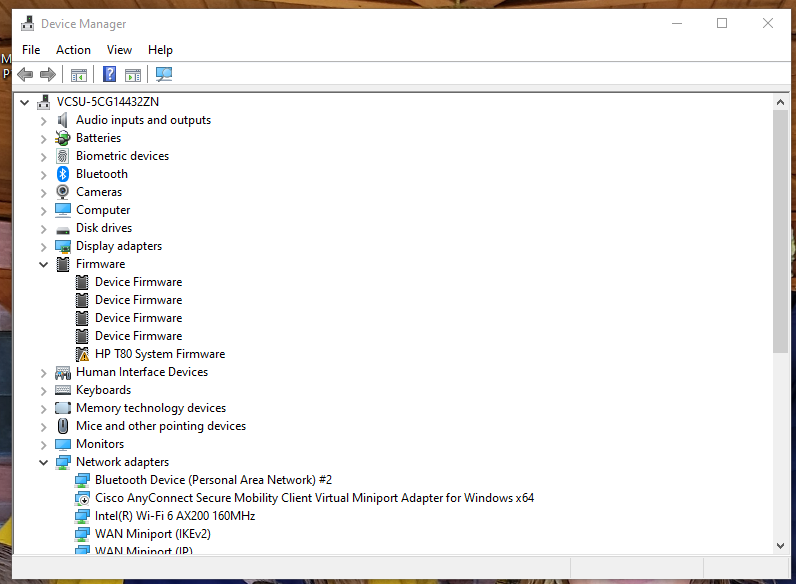
3. Select Firmware.
***If you notice that there is a yellow triangle on the HP T80 system Firmware, please bring your laptop to the Help Desk to have the correct firmware installed***
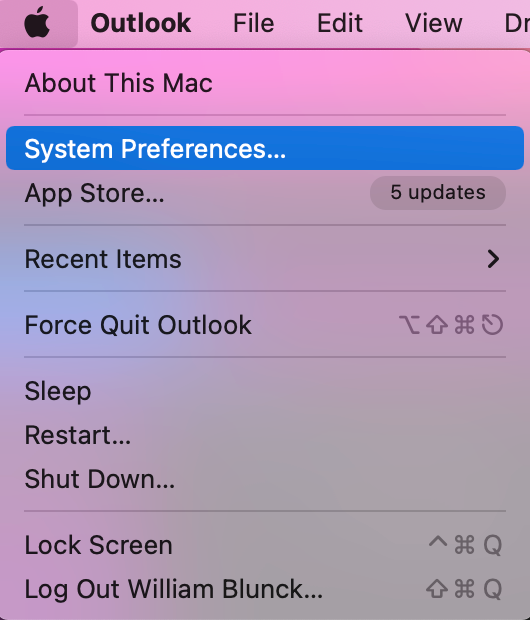
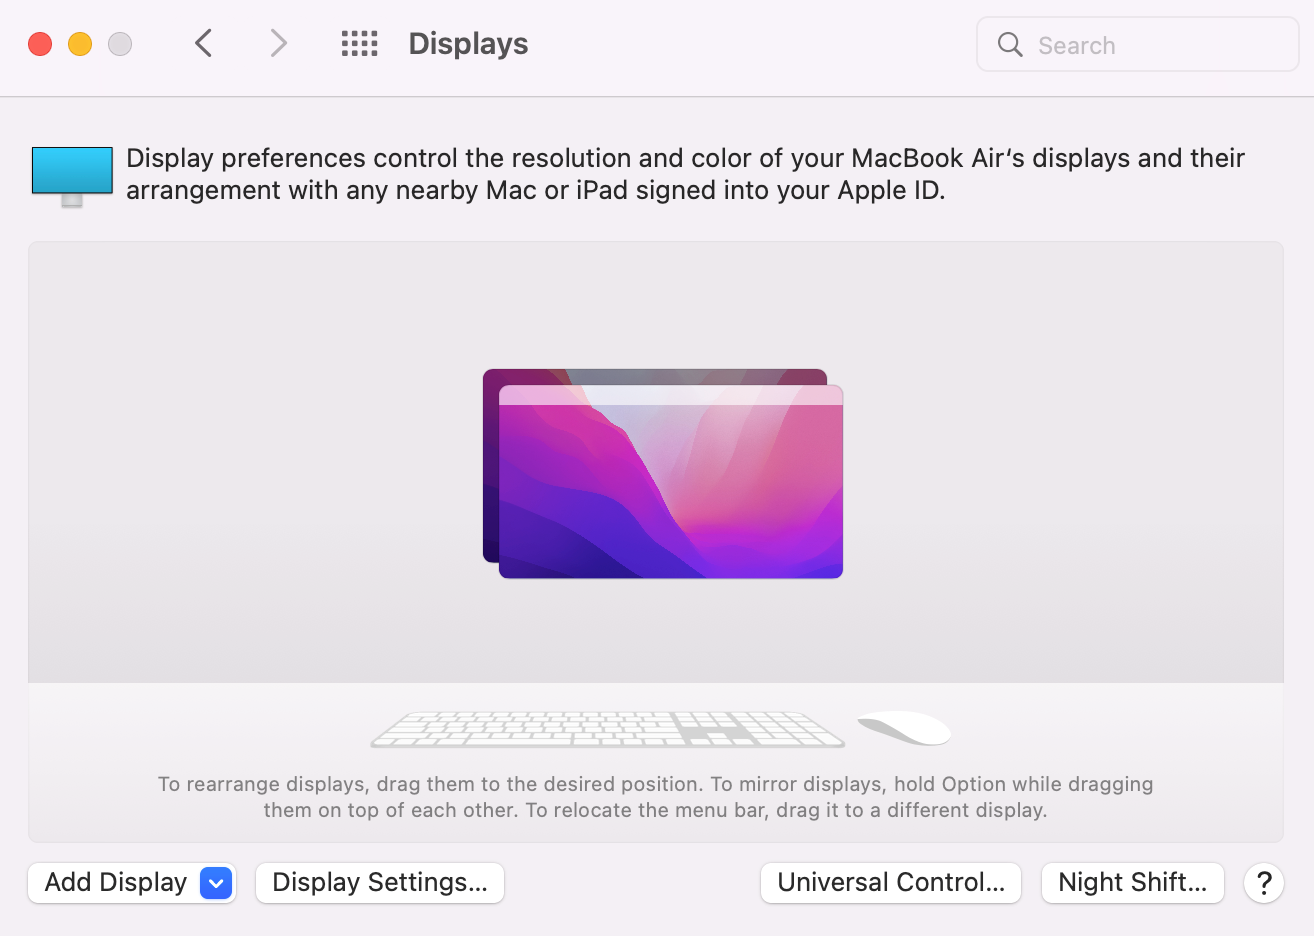
If you are a Mac user:
**You will need to apply this setting in every classroom you lecture in, once. Your MacBook will remember your settings for that classroom.**
1. Click on the Apple Icon.

2. Select System Preferences.
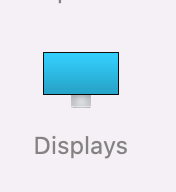
3. Select Displays.
4. Select Display Settings.
5. Verify you have the projector selected. Under Refresh Rate select 30 Hertz.
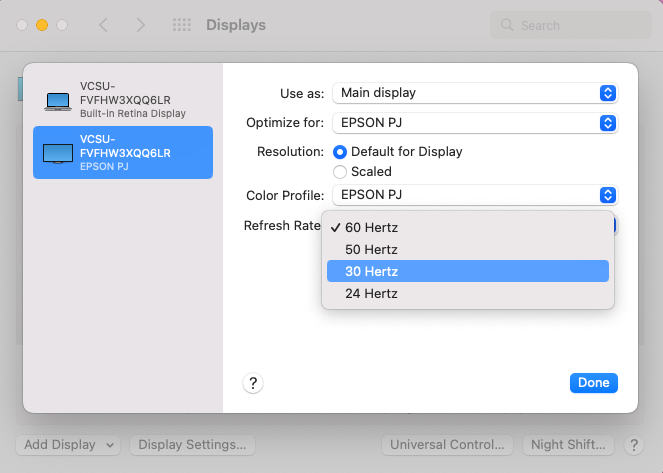
7. Click Done.
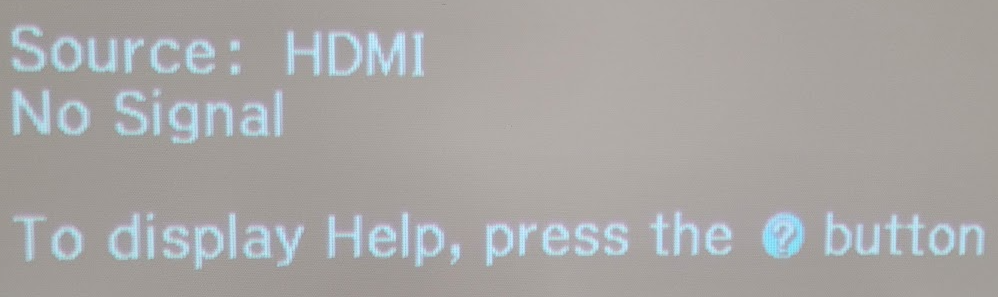
PC and Mac – Black Screens
If you plug into the system and you are given a black screen. The reason could be that you are on the incorrect source.
1. Make sure the projector is on, and the projector displays HDMI in the bottom left-hand corner.
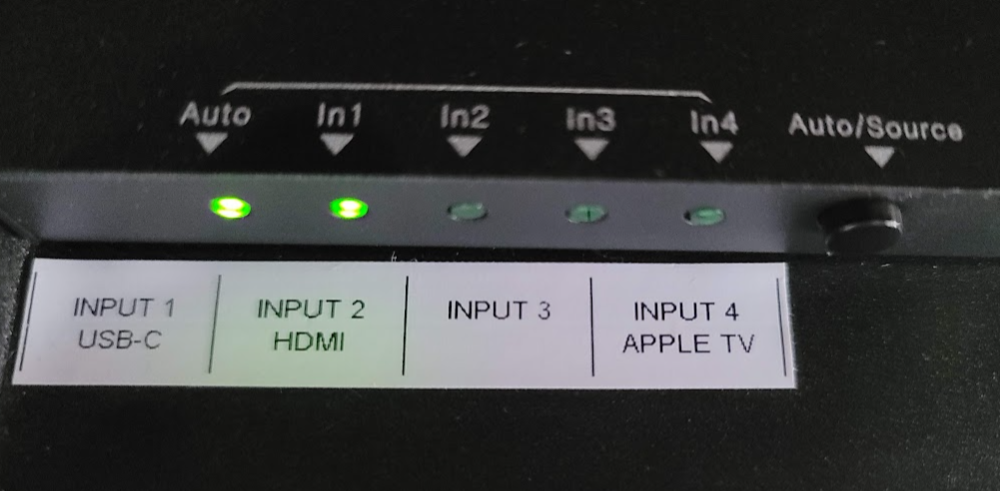
2. Open the front cabinet door, and located the HDMI switch on the top shelf on the left side.
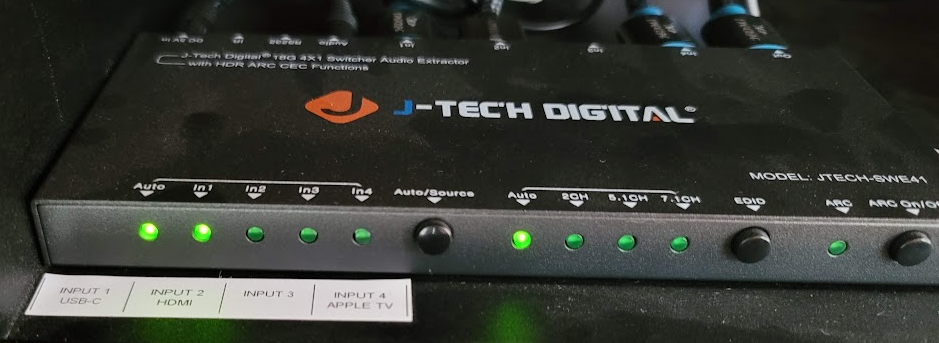
3. Press the Auto/Source button for your desired source.
Input 1 --> USB-C
Input 2 --> HDMI
Input 3 --> Doc Cam*
Input 4 --> Applet TV*
*If present
If you have done all the steps above and still have display issues, contact me at william.blunck@vscu.edu or 845-7347 with the following information:
- What type of device you are using?
- What classroom you are in?
- How often does it happen?
- Does wiggling the cable make it worse?
Troubleshooting Classroom Projector Flow Chart