Connecting the Wacom Drawing Tablet and the Classroom Projector to a MacBooks (m1)
Before you can connect a Wacom drawing tablet and a classroom project at the same time with your new MacBook, you need to make sure there are two things in place.
1. DisplayLink hub connected to the Wacom
2. You have the latest DisplayLink Manager software installed.
Please follow the steps before connecting the Wacom and the projector to your MacBook.
1. Please click on the link below and click Download for the latest version of the DisplayLink manager.
https://www.synaptics.com/products/displaylink-graphics/downloads/macos
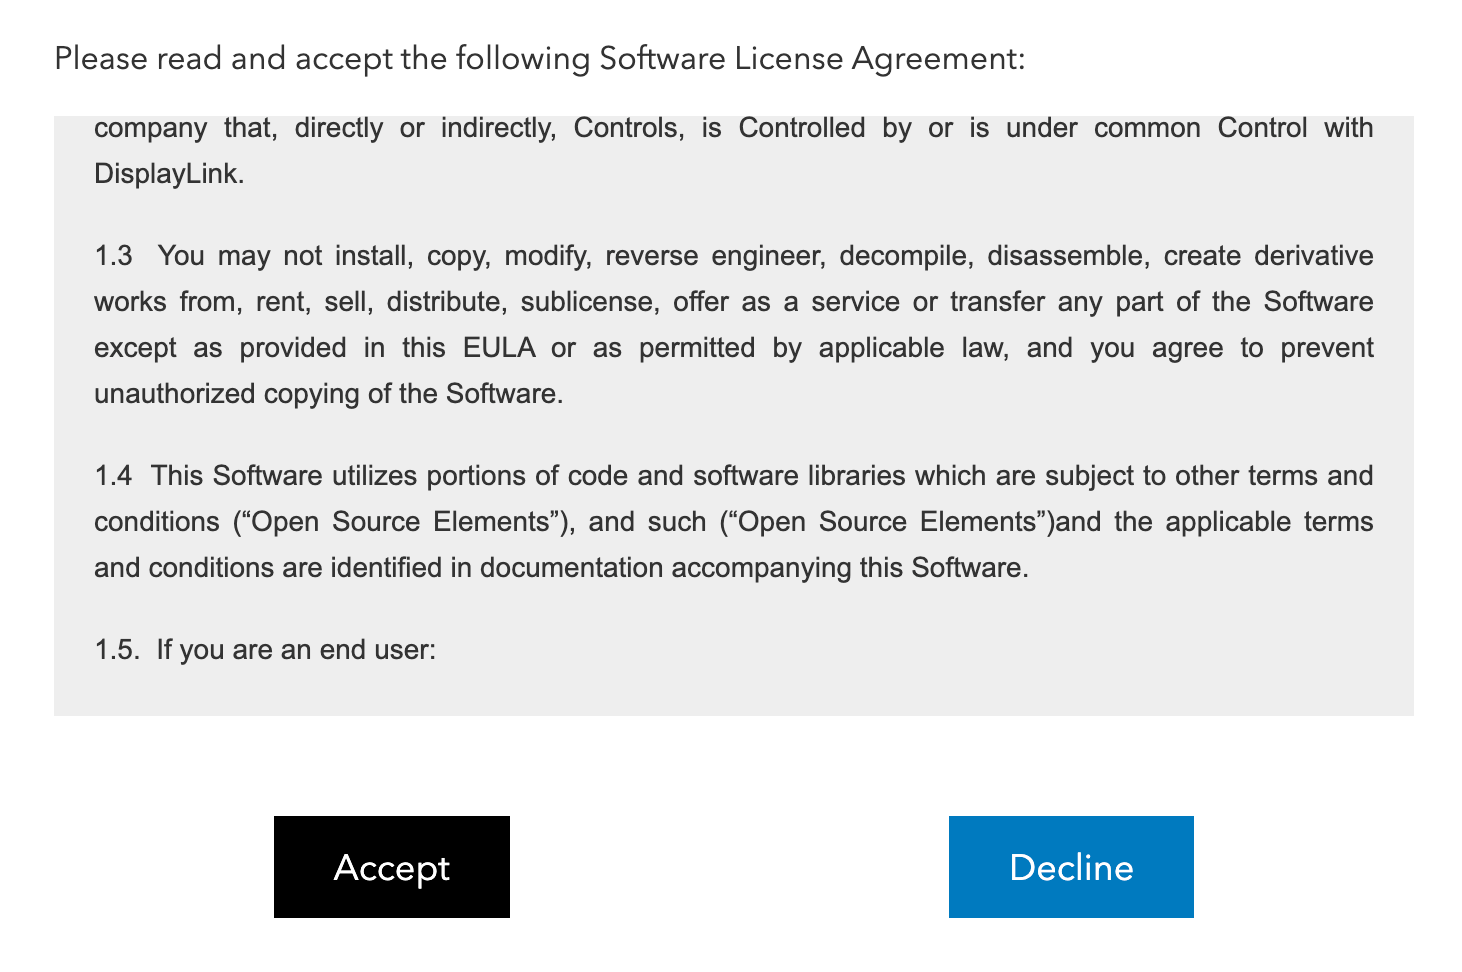
 2. Accept the terms
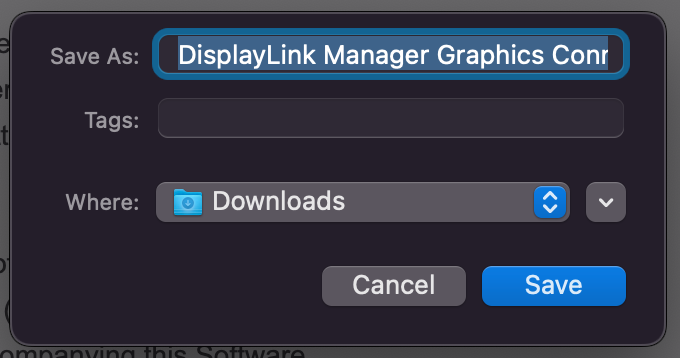
 3. Save it to your downloads folder.
**If you know how to install software, you can skip to step 12.**
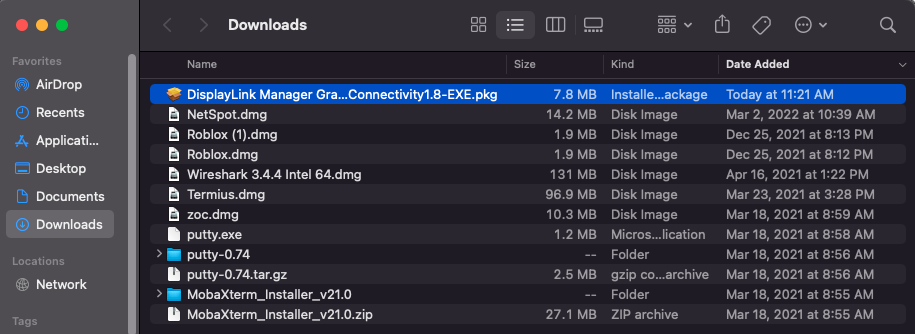
 4. Double-Click the DisplayLink Manager Graphics Connectivity1.8-EXE.pkg in your Downloads folder
 5. Click Continue
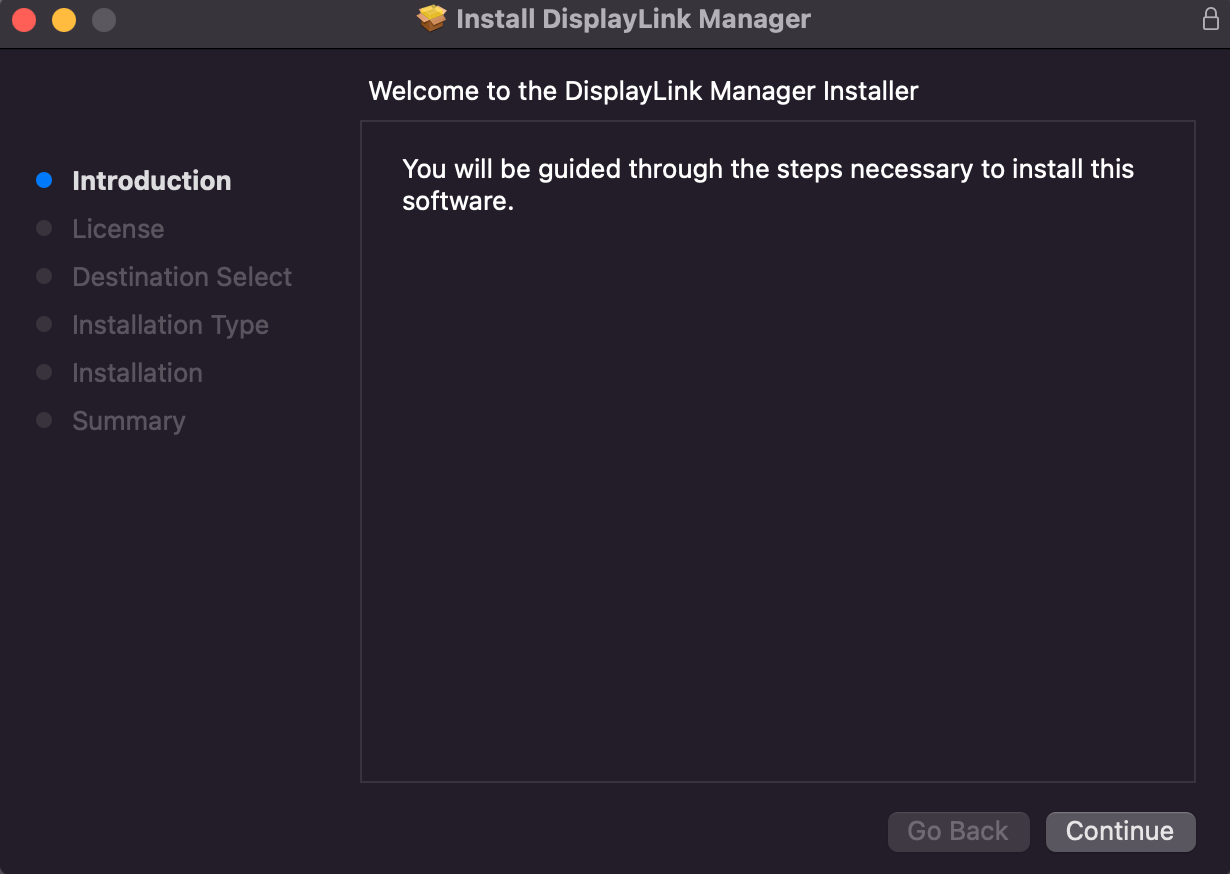 6. Click Continue
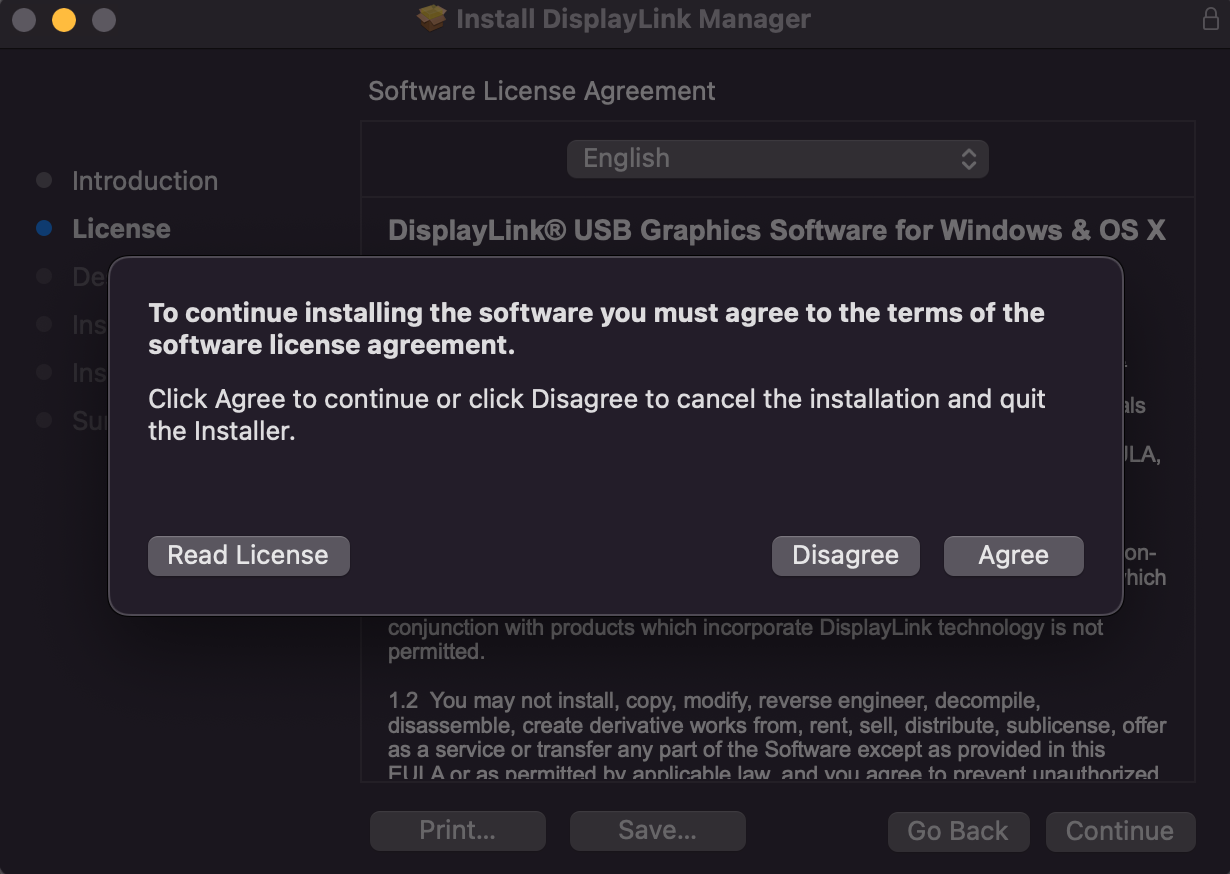
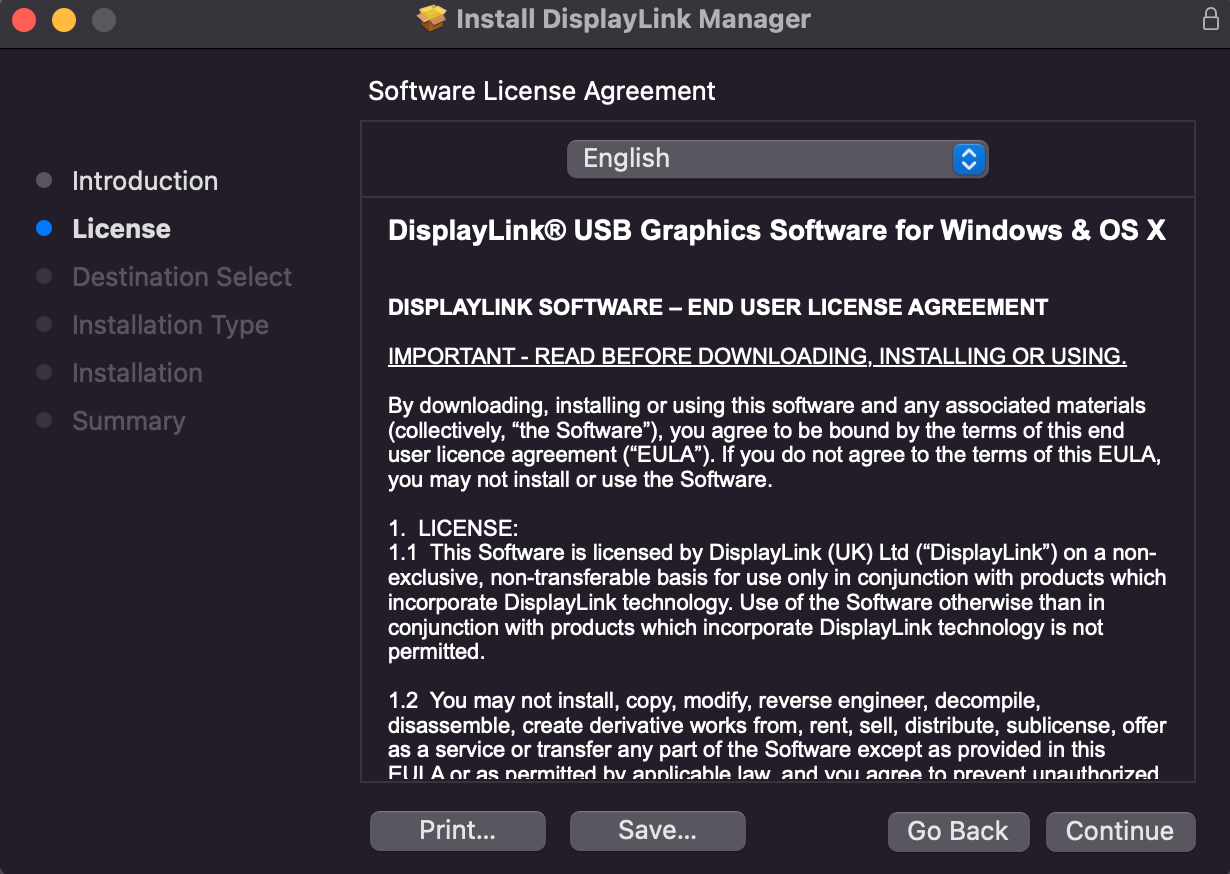 7. Click Agree
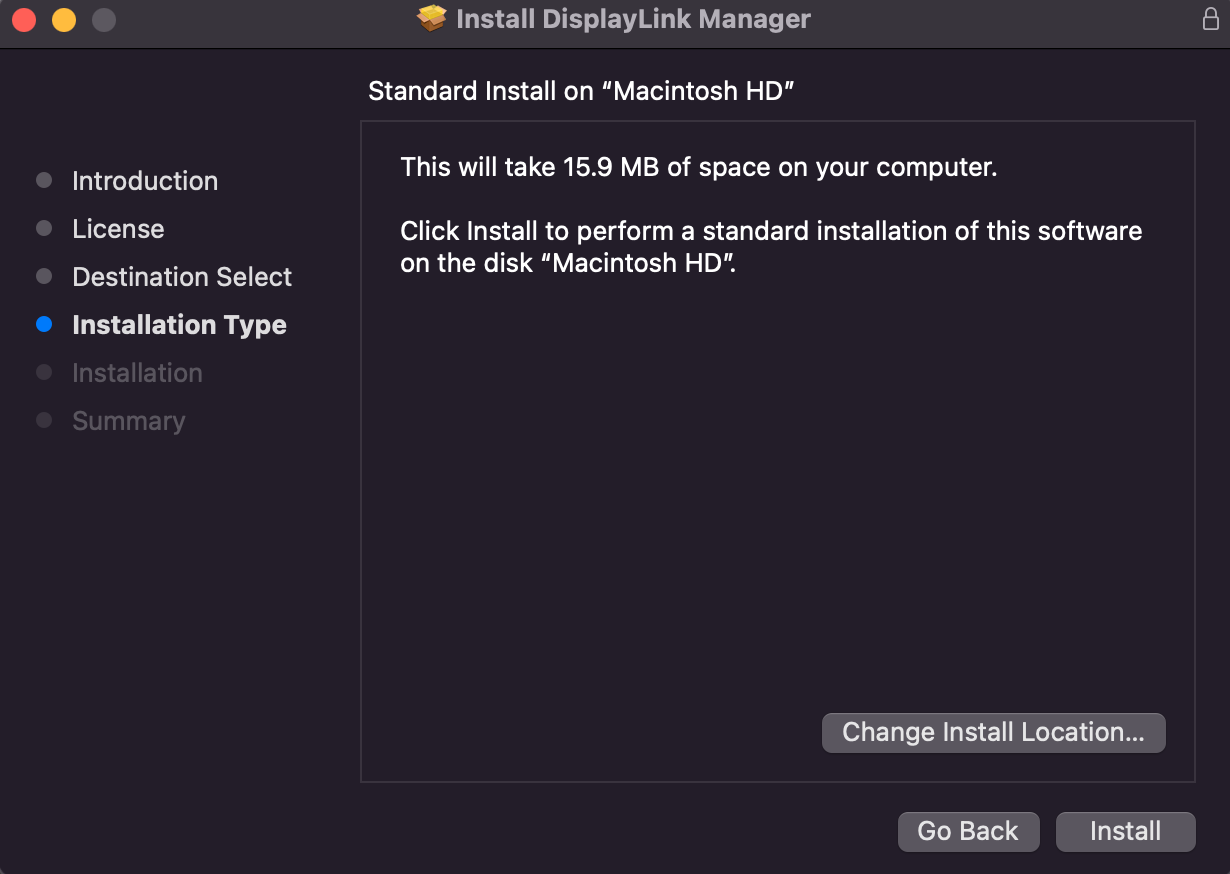
 8. Click Install
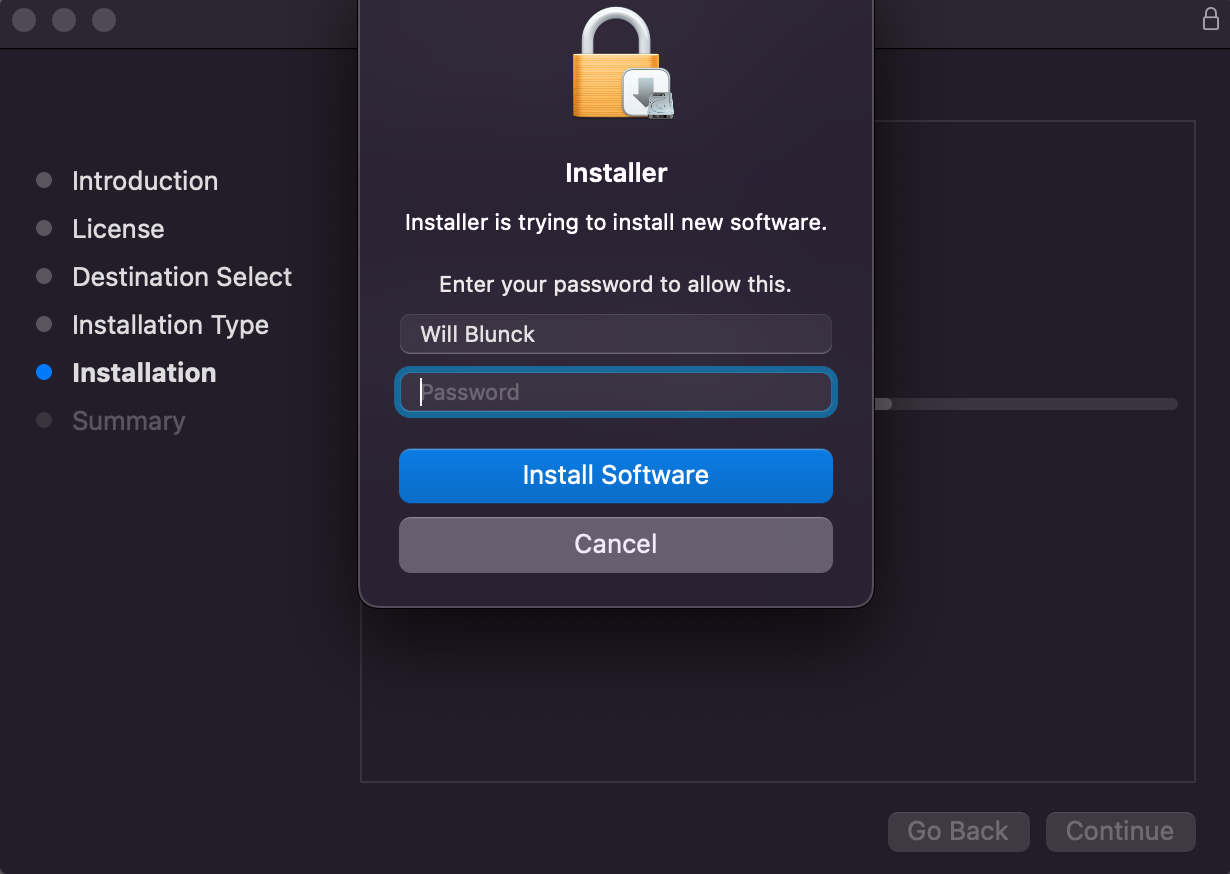
 9. Enter your password and click Install Software
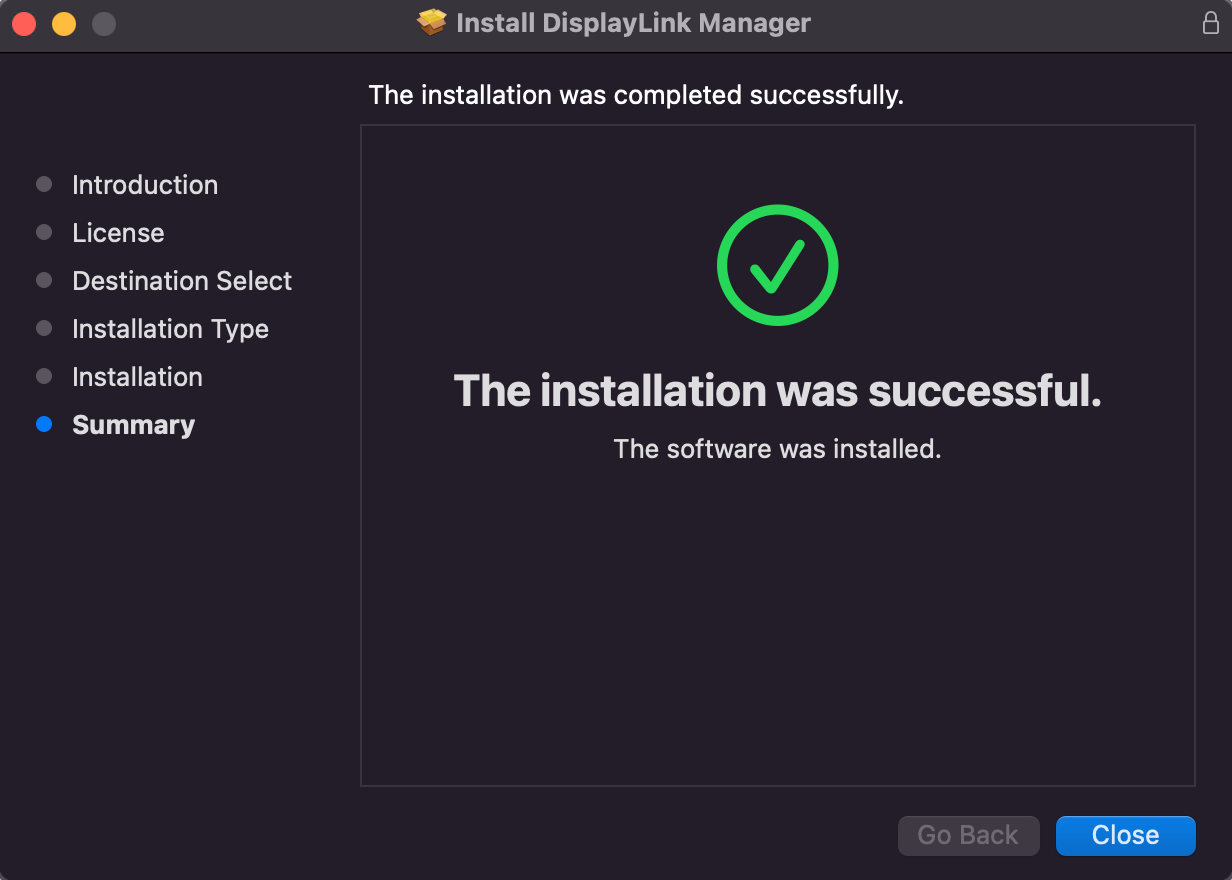
 10. Click Close.
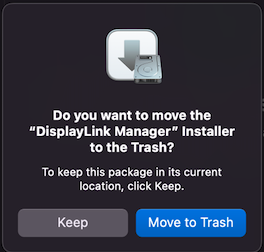
 11. Click Move to Trash
 12. Once the Screen Recording request appears, select Open System Preferences.
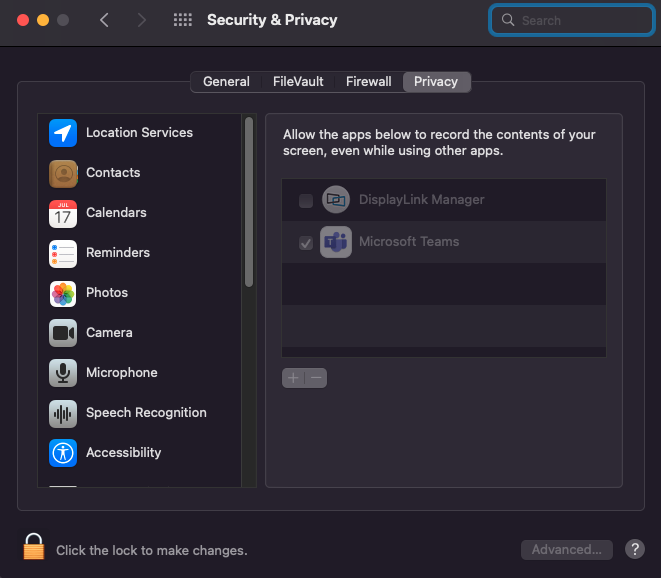
 13. Click the lock to make changes in Security & Privacy.
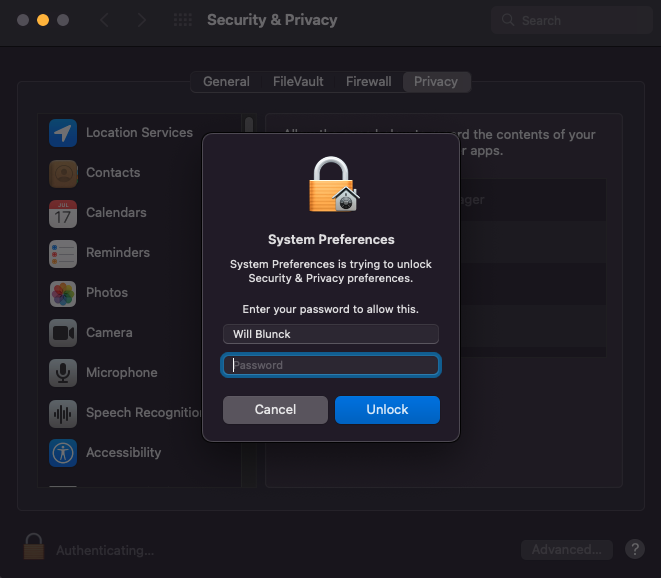
14. Enter your password and click Unlock
15. Check the box for DisplayLink Manager
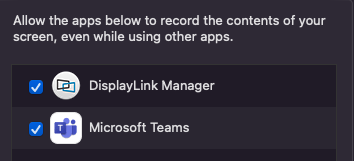 16. Click Quit & Reopen
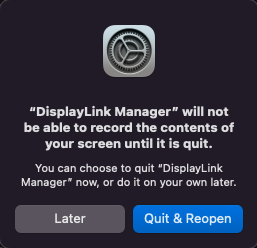 17. Now in the top right-hand corner you should see the DisplayLink Notification and the new icon on your menu bar.


18. Click on the icon and check the box for Launch automatically after login in the DisplayLink Manager Home Tab Settings.
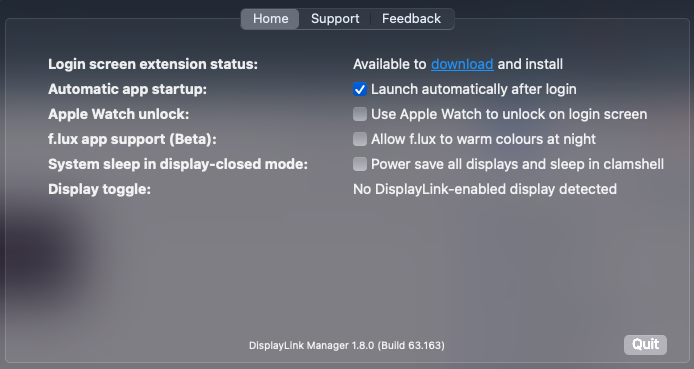 19. Now connect the Wacom to your MacBook with the USB-C dock and then connect the green USB-C cable for the projector.
Troubleshooting
Wacom doesn't display your screen
Check to see if the Wacom is turned on
Check all Wacom cables are connected to the hub
Check to see if DisplayLink Manager is running
If the projector is displaying
Check to see if the projector is turned onCheck the source is on input 1 in the cabinet
If the projector isn't displaying,
If you are still having issues please contact the VCSU Technology Help Desk at 845-7340.